When changing a graphics card, sound card, or network card sometimes removing the drivers properly can be a bit of a pain. It can also be a problem when updating drivers to the newer versions as often the uninstall program will not fully delete all of the driver components and will often cause the new drivers to not install correctly which can cause crashes and sometimes even blue screens of death.
There are a couple of free programs out there though that will help you fully remove the drivers so that when installing the new ones you don't hit any problems along the way.
Firstly you will need to download
Driver Sweeper once you have downloaded it simply install it and then leave it until you have started the task of removing the old drivers. (Remember to get the new ones ready on a CD or on your desktop before you remove the old ones)
Once you have decided on which drivers you are uninstalling you need to go to the uninstall panel on your computer. Find the drivers and then right click on them and click uninstall/change. Go through all of the setup program until the drivers are uninstalled.
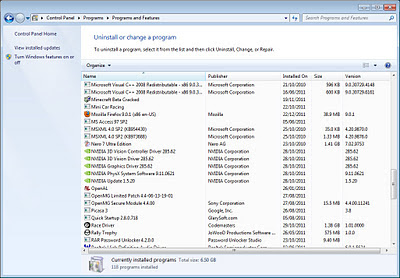 |
| Uninstall or Change a program window |
Once you have removed the drivers that you wanted to get rid of it is time to fire up Driver Sweeper. This program will remove any remaining files/registry entries that were left by the driver uninstall program. Select the names of the drivers that you are trying to remove. In my case it was;
Nvidia - Display
Nvidia - PhysX
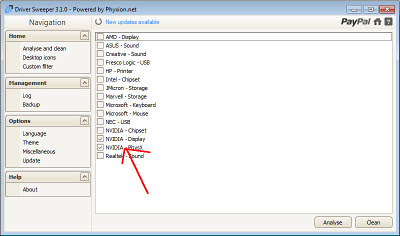 |
| Driver Sweeper - Select driver window |
Once you have selected the drivers that you are removing (Already removed using the uninstall or change a program window) you need to click analyze. This will scan your computer for any remaining files and registry entries that were connected to the driver. Once it has finished you will find a program panel like this come up.
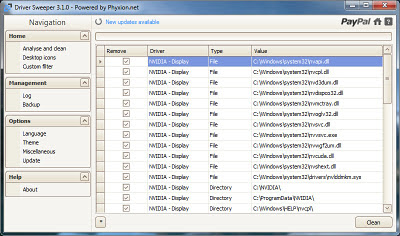 |
| Driver Sweeper Scan Results |
Once you have seen all of the files and registry entries you simply click on the "Clean" button in the bottom right hand side of the screen. Once this task has been performed it is now time to install your new driver.
Thanks for reading, Jack-O-Bytes


No comments:
Post a Comment